Last updated: July 24, 2024
Project Goal
Restore the functionality of a ten-year-old laptop. 💻
Rationale
A family member had an old, slow laptop. I have seen many computers in a similar state while working as a computer technician. I wanted to document the process and capture an example of what a computer tech might do to restore an old laptop.
Often, as long as the board is fine, a fresh Solid State Drive (SSD) and a lightweight operating system can breathe new life into an old machine!
Procedure
My plan was this:
- Inspect the machine to see if its hardware is sufficiently capable of running a modern operating system (OS).
- Test the hardware health: hard drive, RAM, etc.
- Back up the data on the machine.
- Depending on the outcome of 2, disassemble and clean the inside of the machine, replace thermal paste, and replace any failing components.
- Install a fresh OS.
- Install useful applications.
1) Inspection
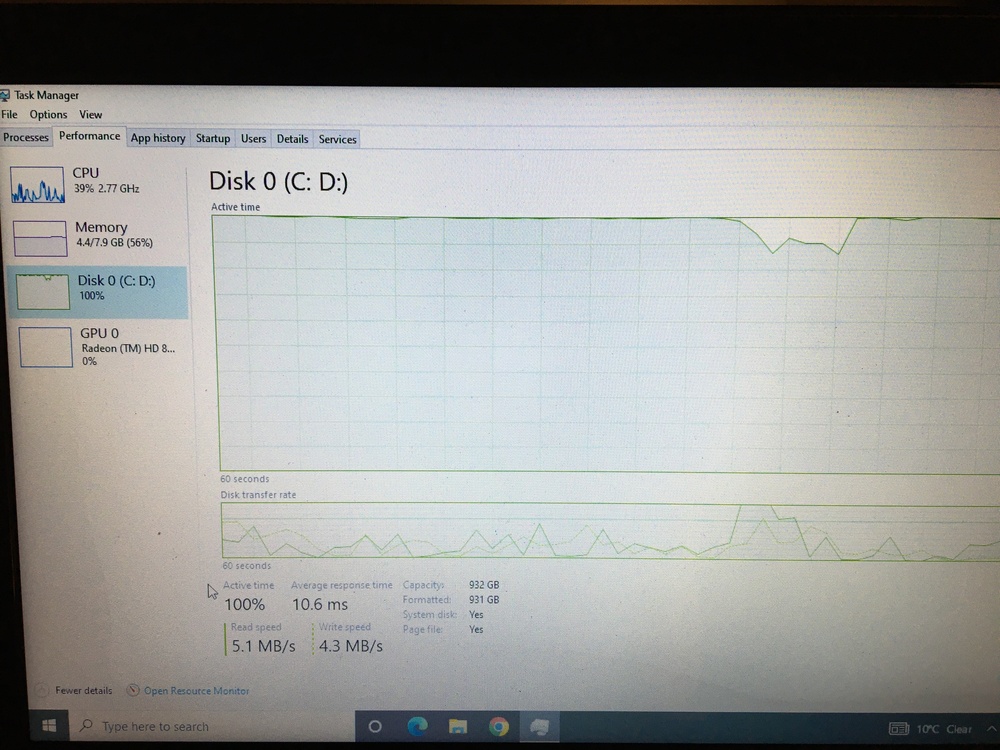
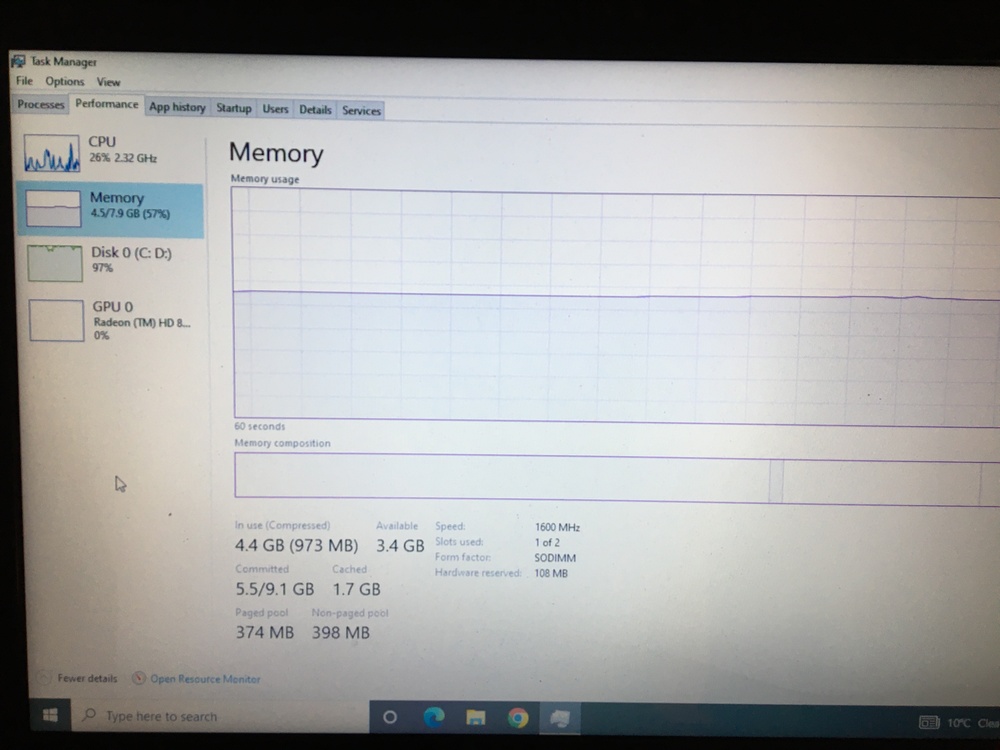
With the machine on hand, I started by booting it up and inspecting task manager to see what hardware I was dealing with.
Firstly, I noticed is that there was a lot of disk activity:
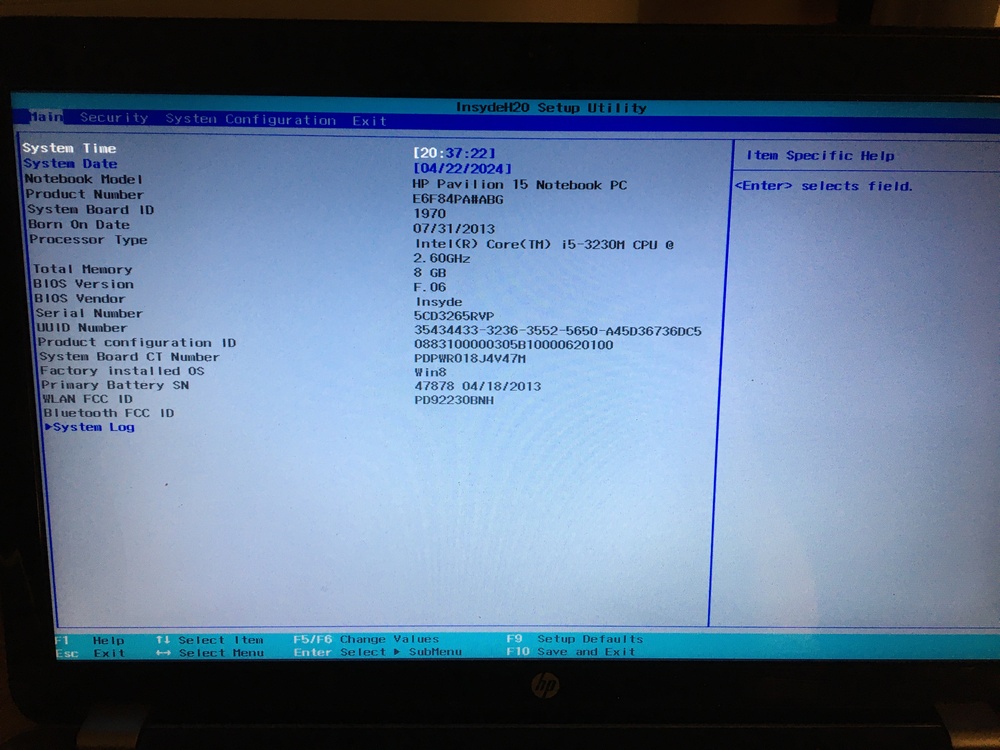
The machine had a 3rd generation i5 processor, 8 GB of DDR3 RAM, and a mechanical hard drive. While the processor is old, this machine could definitely run a lightweight Linux distro well enough to handle basic daily computing.
With that basic information, it was time to run some tests.
2) Testing the Hardware Health
First, the easiest thing I could do to rule out any immediate issues was to test the RAM and the hard drive.
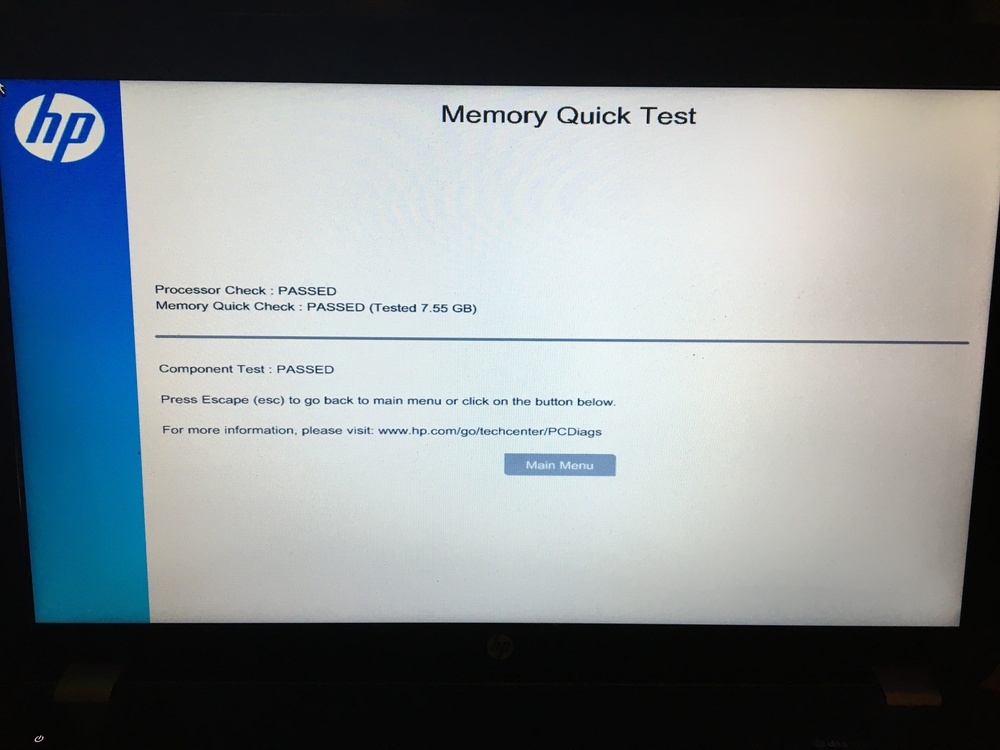
Starting with the RAM, I had two options: use the BIOS’s inbuilt memory test, or use the more thorough MemTest86+ tool.
Given the timeframe I was working within, I chose to just use the BIOS’s, which worked well enough for this test:
After about 20 minutes, the test passed successfully. Next was the hard drive and its contents.
Booting Linux from USB for Data Recovery and Hardware Testing
A good way to reliably test a hard drive is to boot Linux and use the badblocks tool. There are a couple of ways to do this:
- Boot Linux on the device itself, OR:
- Remove the hard drive and plug it into a Linux machine via a cable.
Since the hardware of this machine was otherwise healthy, the first option was easier.
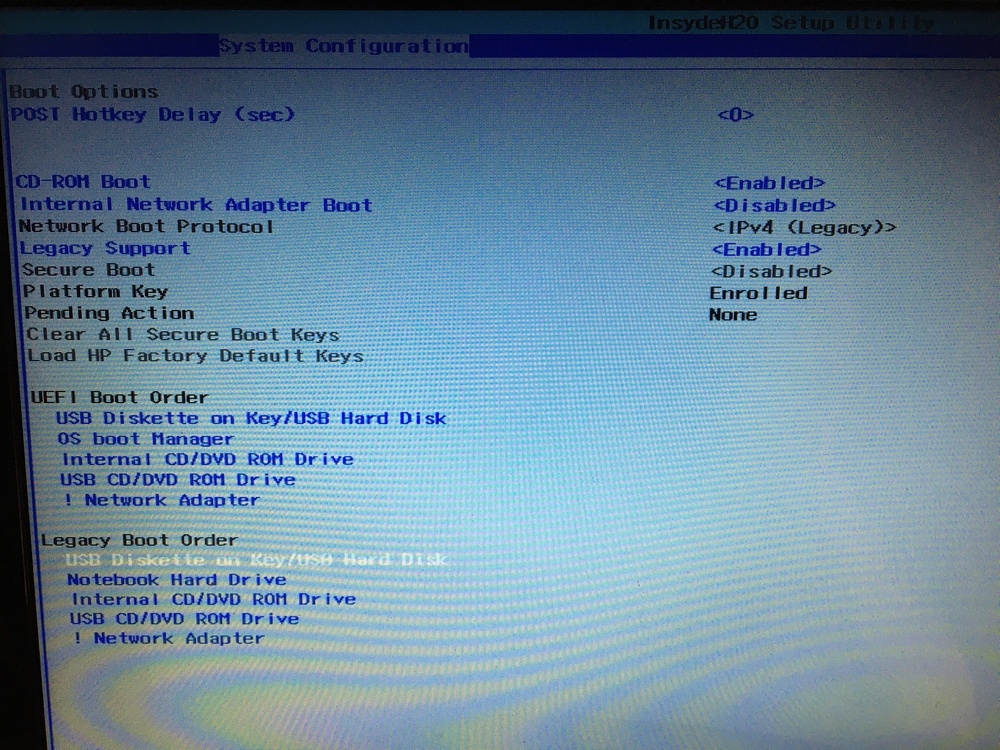
To boot Linux, I needed to enter the BIOS, disable Secure Boot, and boot from my Lubuntu USB:
Secure Boot prevents unauthorised operating systems from booting. This is good for security, I needed to temporarily disable it to boot Lubuntu.
Next, I changed the boot order so that my USB would be used before the internal hard drive.
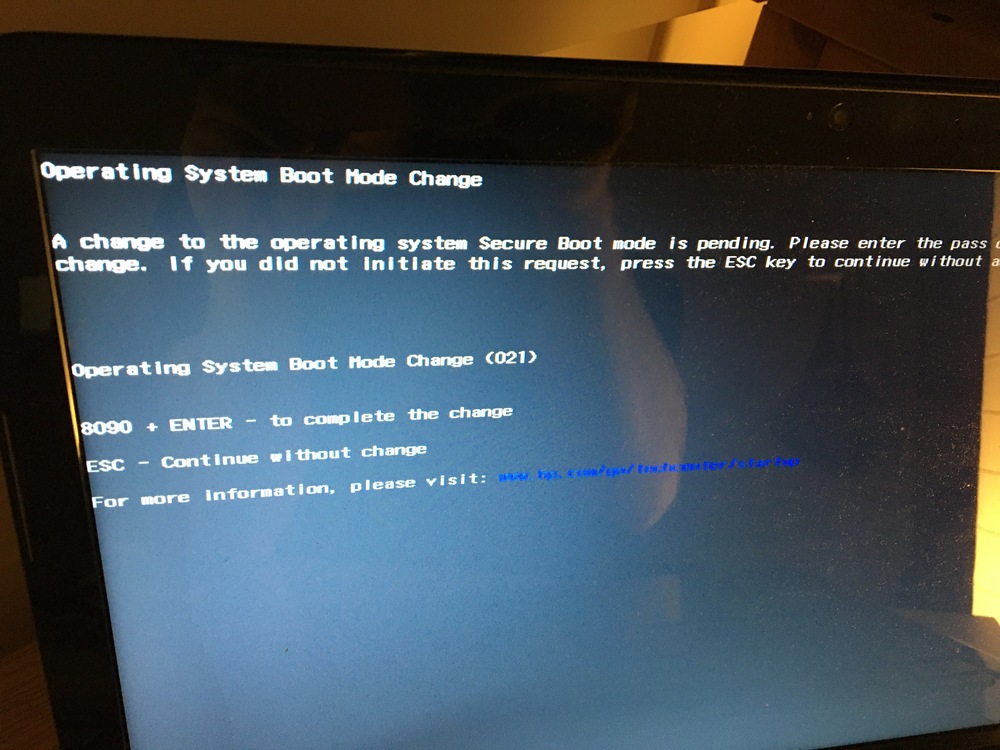
The BIOS flagged that a change was made, so I reassured it with a code:
With that done, I booted into Lubuntu to back up the data.
Testing Hard Drive Health with Badblocks
Normally, as this point, it’s good to test the hard drive health using a tool called badblocks:
lsblk
badblocks -sv /dev/[block_device]
This command runs badblocks while showing progress (-s), and in verbose mode (-v). Badblocks checks for any unreadable sectors on the hard drive. If any are found, it’s best to replace the drive.
This process usually takes about an hour or two on an old mechanical drive.
In this case, I was going to replace the drive with a fresh SSD, so my focus was on simply copying all the files on it to an external drive.
3) Backing up the Data
There was quite a lot of data on the machine, so the next step was to make sure everything important was backed up.
For this, I opened a terminal used the trusty rsync command, like I have done many times before:
rsync -av /source/ /destination/
I also like to watch the progress of the transfer using:
watch df -h
This displays the size of attached disks, allowing me to see the external hard drive fill up in real time.

It’s also a good idea to manually make a copy of browser bookmarks, and back that up too. In this case the browser was syncing through an online account already, which is ideal.
4) Disassembly and Cleaning
I came back the next day and found that the data backup was completed. It was now time to open up the computer, give it a good dusting, and replace the thermal paste.
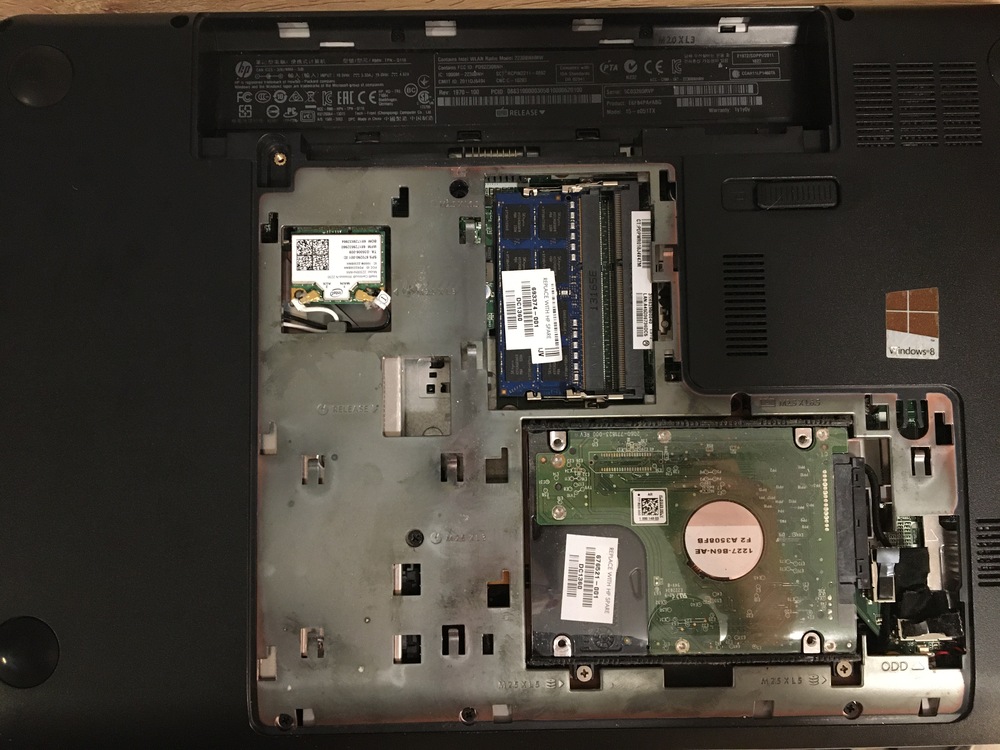
Starting with the back panel, I exposed the hard drive, Wi-Fi card and RAM:
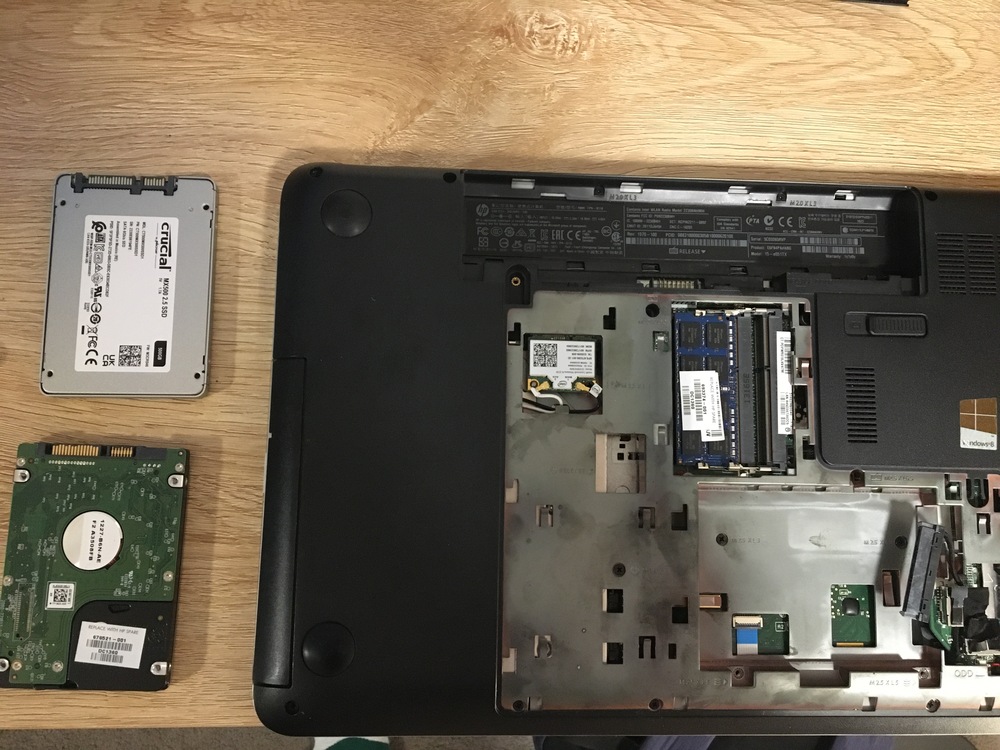
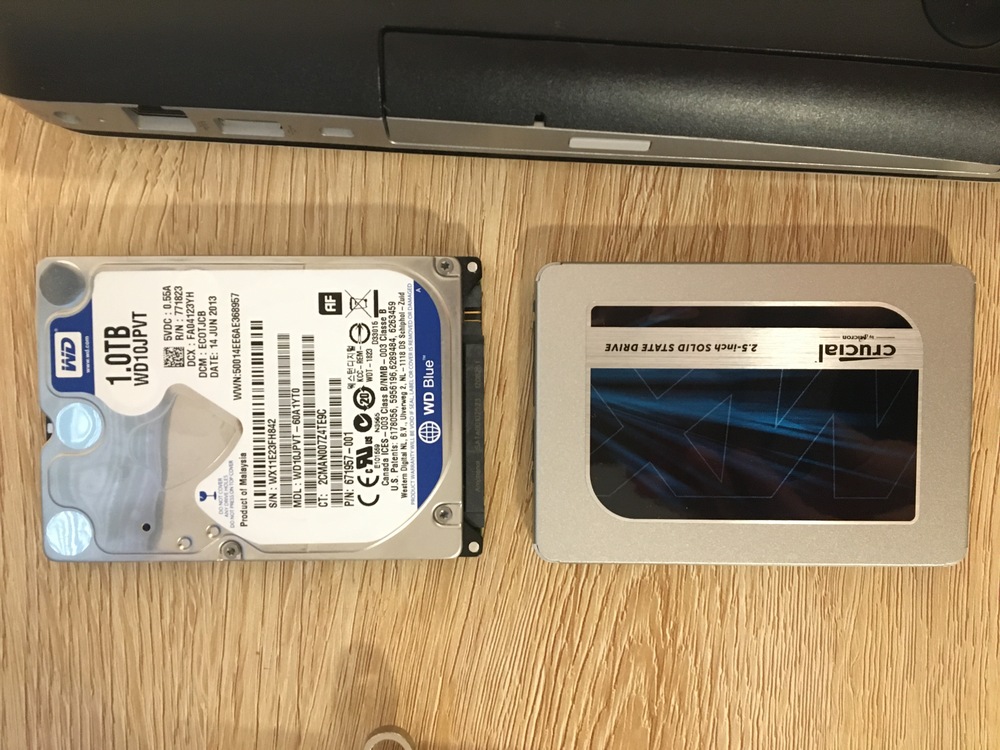
I then removed the battery and old hard drive. Here you can see it next to the new SSD I planned to install:
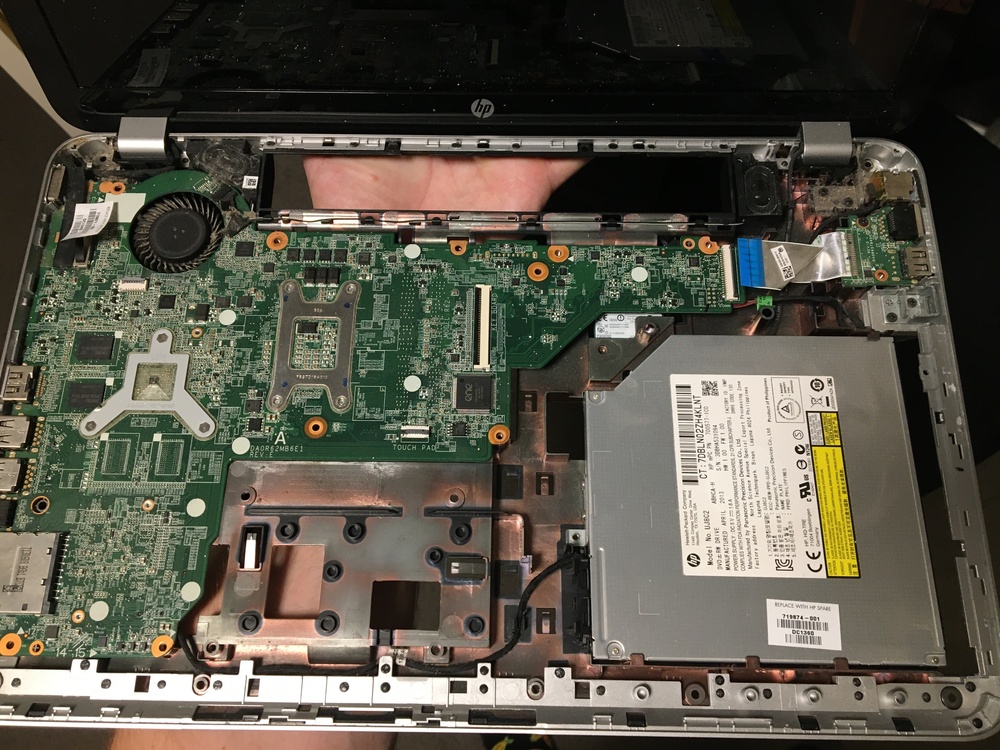
Next out were the RAM and Wi-Fi card. This allowed me to remove screws all around the chassis. Unfortunately, unlike Lenovo ThinkPads, this type of computer requires you to remove the entire board to access the CPU thermal paste. I turned the laptop over and removed the keyboard, allowing me to pop off the chassis clips with a lever tool:
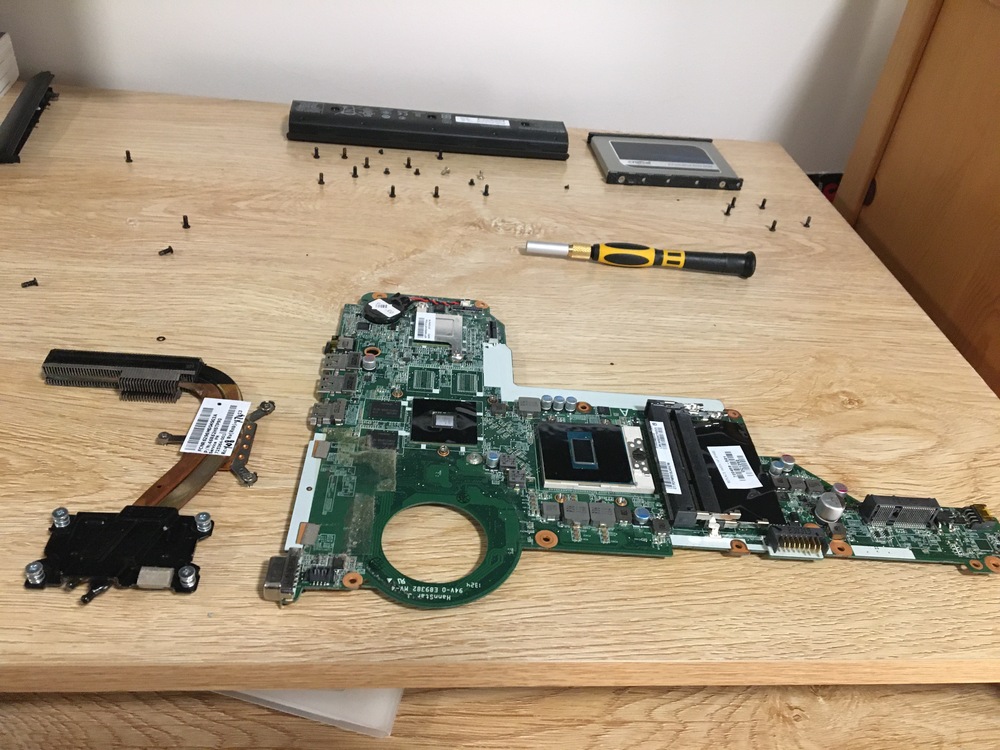
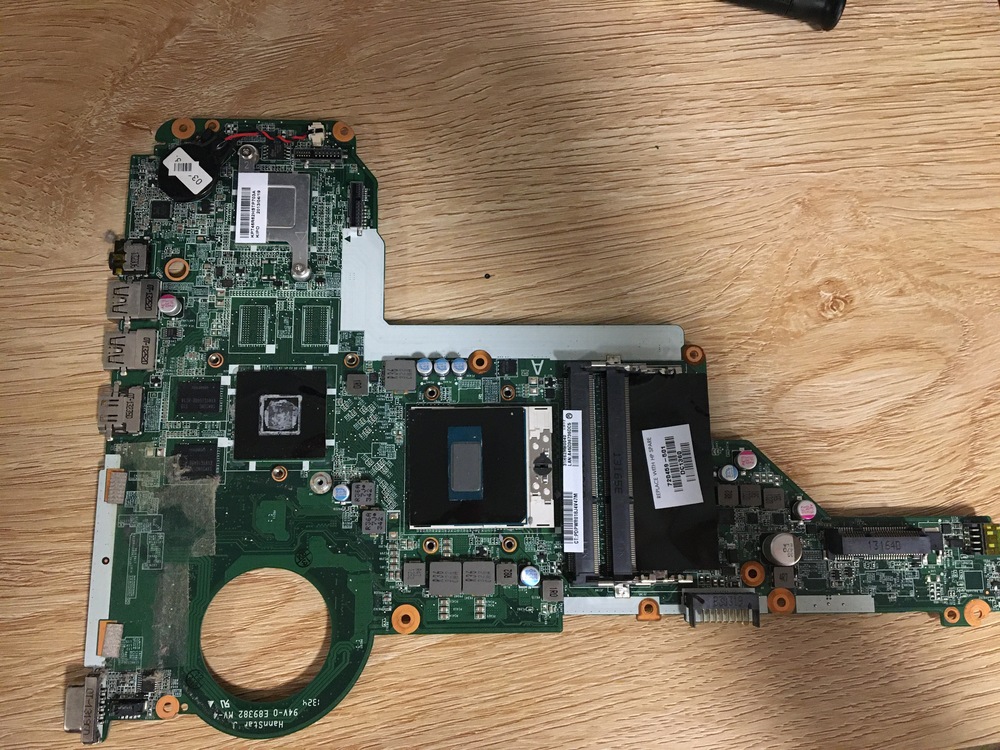
I gave the internals a good dusting, then removed the board:
Thermal Repasting
The old thermal paste was dry and clearly needed replacing, so I cleaned it off and applied fresh paste.
With the new paste on, I gave the chassis an extra good dusting and carefully reassembled the computer.
5) New SSD and Linux Mint Install
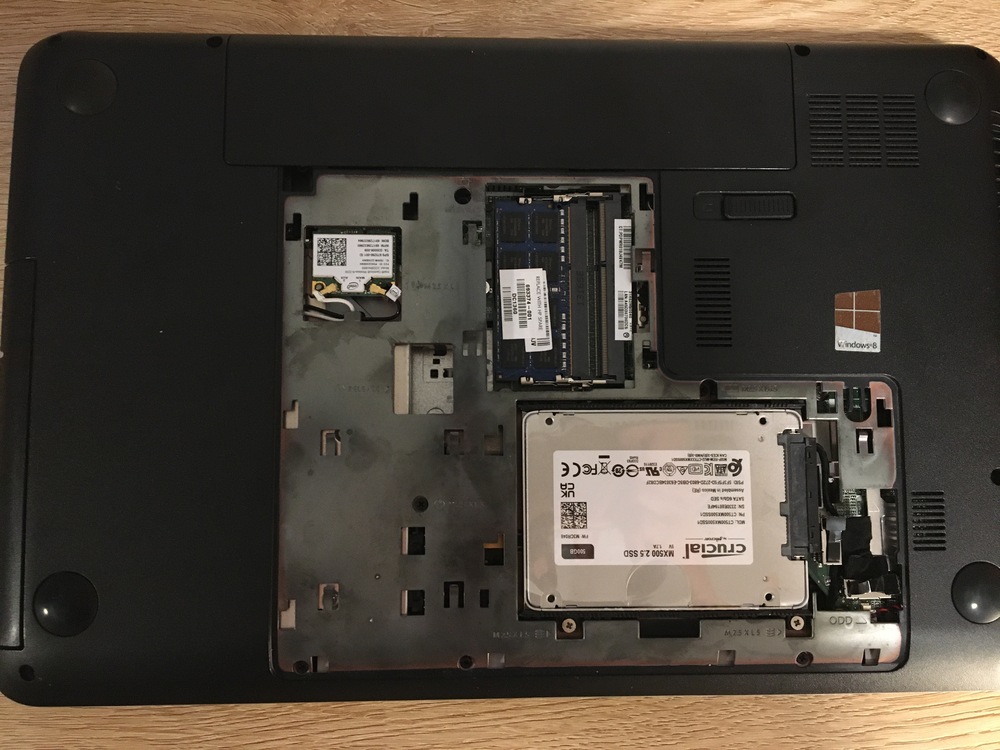
Finally, it was time to put the new SSD in place:
With all the chassis reassembled and all the screws back in place, the laptop was ready for its new operating system.
Since I had already tinkered with the BIOS, booting Linux Mint was as simple as inserting my previously-created USB stick, turning the laptop on, and spamming the boot menu key.
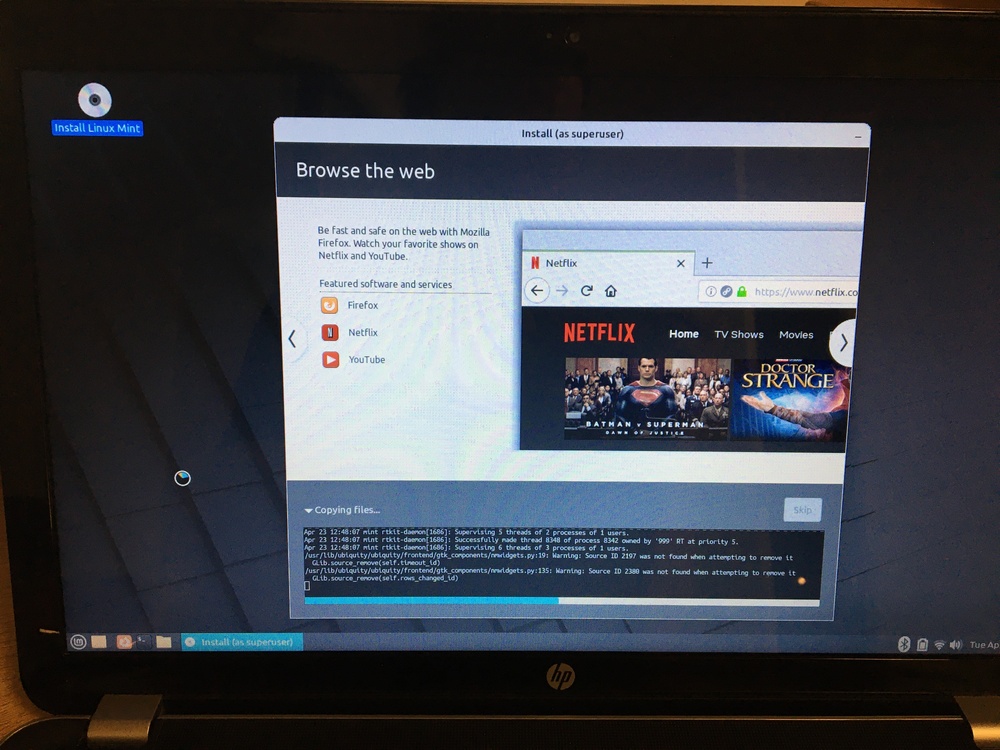
Linux Mint’s live boot environment ran without issue, and I ran the installer from the desktop:
After about 10 minutes, I did get an input/output error, which may have been due to the USB port. I rebooted using a different USB port, re-ran the installer, and the error didn’t replicate.
Finally, I had a freshly restored laptop! 💻
This project was nice and simple, but I’m glad I took the time to document it! 🪶
