Last updated: June 23, 2024
Who This Post Is For
- Hack The Box Labs (HTB) players running Windows or macOS, who don’t want to install a Linux Virtual Machine on their host system.
- HTB or CTF players who want to use a cloud-based penetration testing environment, because:
- The web-based Parrot virtual machine is slow and costs money.
- You don’t want to install lots of relevant tools on your local Linux system.
This Post Assumes
- You’re new to HTB (if not, feel free to skip ahead of the preamble).
- You want to use the “connect with OpenVPN” option on Hack The Box Labs.
What is Hack The Box?
Hack The Box Labs is a cybersecurity training and certification platform that features tons of fun, hands-on hacking challenges aimed at taking you from a beginner to a pro.
I recommend their Starting Point machines series, which feature full write-ups on how to complete their CTF-like challenges.
Side note, I was lucky enough to meet some HTB representatives in person while attending the recent AISA Cyber Conference last March. They even gave me some merch! 😁
Getting Started
If you haven’t used Hack The Box before, their website currently has 4 parts: Academy, Labs, Business, and CTF. This guide will focus on Labs, but the approach should work as long as you’re provided an OpenVPN file.
To get started:
- Log in and create an account under
HTB Labs:

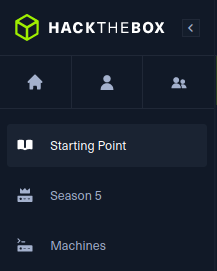
- On the left, navigate to
Starting Point:
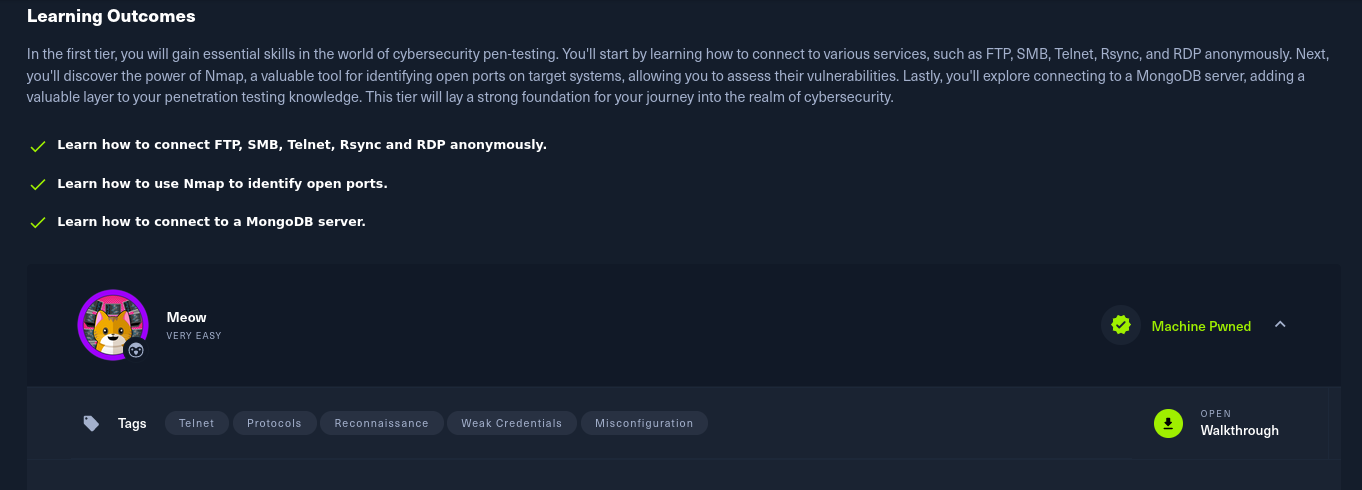
You can scroll down and see the starting machine of the first tier, Meow:
- In order to play, you’ll need a penetration testing environment on the same network as the target machines.
On the top right of the website, you should see a “connect to HTB” button. Click it, and you’ll see several options:
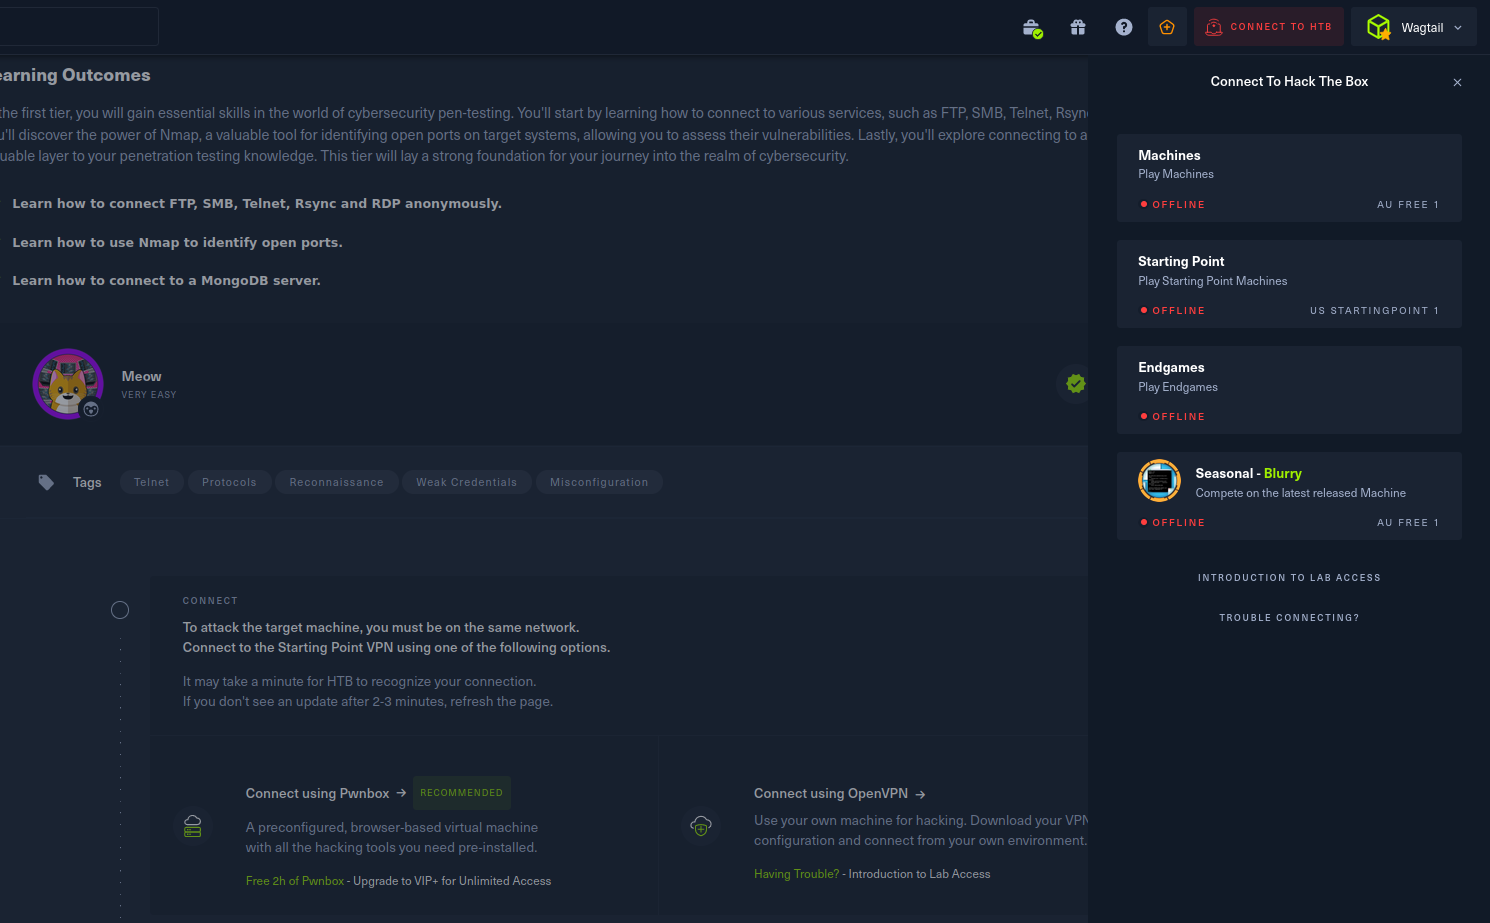
Let’s say you clicked the “Starting Point” boxes. You can connect either through OpenVPN or Pwnbox, their Parrot VM. Let’s pick OpenVPN:
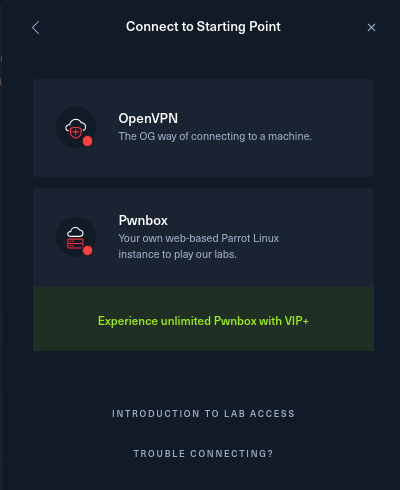
You will now be prompted to download a .ovpn file. Download it.
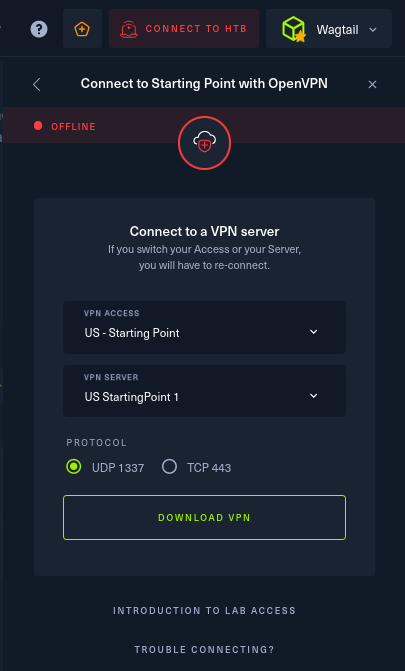
The file will look something like [your-username].ovpn. Make sure you note where you downloaded it, as we’ll need it again soon.
Creating a Kali Linux Server Using Linode
Advantages
- Flexibility:
- You can delegate your tools and environment to a cloud instance, rather than your host system—especially useful for Windows or macOS users.
- You can clone and reset the machine at will.
- You can use the machine for CTFs outside HTB.
- Performance: A better experience than HTB’s alternative Pwnbox machine.
Disadvantages
- Security:
- Securing the server will take some steps—but unlike a web server, you can always shut the Kali machine down when you’re not using it.
- Graphical performance:
- You’ll need to set up X11 forwarding to run graphical browsers, but I’ll show you how to do that.
- Heavy browsers like Firefox run slowly. You can use alternatives to Dillo for better performance.
Fun fact: One reason I’m writing this post is to record how I solved these problems!
Setting up the Linode
I’ve previously written a guide on how to set up a Linode server. You can refer to it to help you set up your Kali Linode, but note these key differences:
- At Linode’s “Choose a Distribution” step, you’ll want to pick “Kali Linux” as your image.
- You can ignore the instructions about setting up a new user. On Kali Linux, we typically just use the root user by default (which is one reason not to run it as your daily driver OS).
Follow the steps, and ensure you can have SSH set up on your system.
Once you have the server updated, you’ll be ready for the rest of this guide.
Move the OpenVPN File to the Kali Server
Note: Each time you log in and connect to HTB, you’ll download a new OpenVPN file for that session.
Now that we have a Kali Linux server, all we need to do is move the OpenVPN file onto it. There are several ways to do this:
Linux
Assuming your file is in the Downloads directory:
rsync -av /Downloads/[username].ovpn/ root@[kali-server-ip]:/home/
This will securely copy the file to the /home/ directory of the Kali Linode root user.
MacOS
Rsync should also be installed by default on macOS.
rsync -av /Downloads/[username].ovpn/ root@[kali-server-ip]:/home/
If not, you can install it with Homebrew. First, install Homebrew if you haven’t already:
/bin/bash -c "$(curl -fsSL https://raw.githubusercontent.com/Homebrew/install/HEAD/install.sh)"
Then, install rsync with:
brew install rsync
Alternatively, you can use the ‘scp’ (secure copy) command which is also installed by default on macOS:
scp ~/Downloads/[username].ovpn root@[kali-server-ip]:/home/
Windows
- If you are using PuTTY, you can use PSCP:
pscp C:\Users\[YourUsername]\Downloads\[username].ovpn root@[kali-server-ip]:/home/
-
If that doesn’t work, WinSCP is an alternative GUI option.
-
Filezilla should also let you connect to a remote host and SFTP files to the Kali Server.
Run the OpenVPN File
With the file transferred, SSH into the Kali server. Run the file with:
openvpn [username].ovpn &
& will run the command in the background, so you can still use your terminal session. To return the task to the foreground, use:
fg
If you have multiple background jobs, include % and the job ID after the command (in this case 1):
fg %1
After about 20 seconds, the Kali server should be networked to HTB. Be sure to check the HTB page where you downloaded the VPN file, as it will turn green once the connection is successful.
Testing the Connection
With the connection made, navigate to one of the HTB machines you want to play, and instantiate it with the button.
Once the machine is up, you can test everything is working on the Kali Linode with:
ping [target-IP]
You can now proceed to crack the box!
Need to Run Graphical Apps? Set Up X11 Forwarding
Some challenges involve opening a browser and inspecting a web URL. We should set up X11 forwarding so that we can see and interact with a browser through our SSH session.
In your Kali Linode, edit the /etc/ssh/sshd_config file:
nano /etc/ssh/sshd_config
Uncomment the following:
ForwardX11 yes

Save the changes, then restart ssh and sshd.
systemctl restart sshd
On Your Local Machine
MacOS
- Install XQuartz from XQuartz.org.
- Open XQuartz.
- In the XQuartz preferences, enable “Allow connections from network clients”.
Windows
- Install an X server such as Xming or VcXsrv.
- Start the X server before initiating the SSH connection.
From now on, to use graphical apps over your SSH connection, you’ll modify your connection command with the -Y flag:
ssh -Y root@[kali-server-ip]
On the Kali Server
Now you should be able to run software that needs a GUI by typing the name of the program. For example, to run Firefox:
firefox
Remember: you can cancel running commands with ctrl+c!
Install Dillo
You’ll often need a browser to complete the HTB challenges. If you, like me, find that Firefox is too heavy to use over a remote SSH connection, you can try the dillo browser:
apt install dillo -y
Run it with:
dillo
It’s not the best browser, but it should do the job for looking at simple websites.
Congratulations!
You should now have a cloud-based penetration testing server! Please use this power wisely and ethically.